Sometimes you can eyeball the spacing in an image, and sometimes it’s helpful to use a grid to make sure things are lined up correctly. Photoshop allows you to specify the distance between your gridlines, the style and color of the lines, and you can toggle them on and off.
Toggle gridlines on/off
- View > Show > Grid
- Keyboard shortcuts:
- Mac OS X: ⌘ + ‘ (apostrophe)
- Windows: control + ‘ (apostrophe)
Modify grid preferences
- Toggle gridlines on if you’d like to see what your setting changes do. Note that you can toggle them on/off while you’re editing your preferences.
- Go to Guides, Grid, & Slices:
- Mac OS X: Photoshop > Preferences > Guides, Grid, & Slices
- Windows: Edit > Preferences > Guides, Grid, & Slices
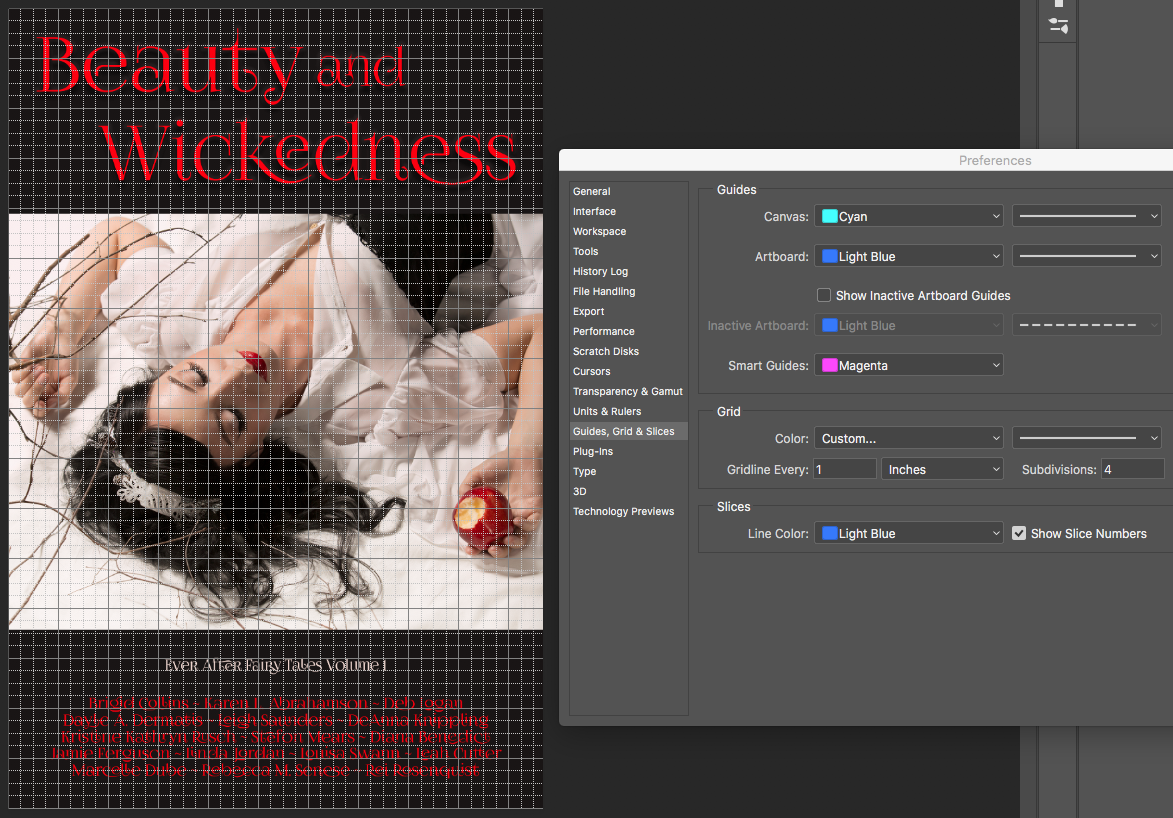
The Preferences dialog will be displayed. - Modify the settings in the Grid section.
- Color – this will change the color of the gridlines.
- Style – this changes the style of the lines displayed in the grid.
- Gridline Every – sets the spacing between gridlines. You can change the units to be inches, pixels, a percentage of the image, etc.
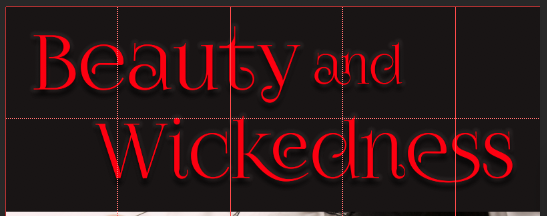
- Subdivisions – sets the number of times each grid section will be further divided. Gridlines will show as slightly more obvious lines than the subdivision lines. For example, in this image the gridlines are solid, and the subdivision lines are dotted.
- Color – this will change the color of the gridlines.
- Click OK to save your changes.
References
Photoshop version
The version of Photoshop used for this post was the 2017.1.1 Release of Adobe Photoshop CC, 20170425.r.252 x64, on OS X 10.13.1.
Sign up for the Blackbird Publishing newsletter!