
Pinterest profile basics
There are several simple things you can do to customize your Pinterest profile to emphasize you as an author.
Prerequisite
You have an existing Pinterest account. This can be either a personal or a business account.
Steps
- Log in to your author profile, then go to Settings.
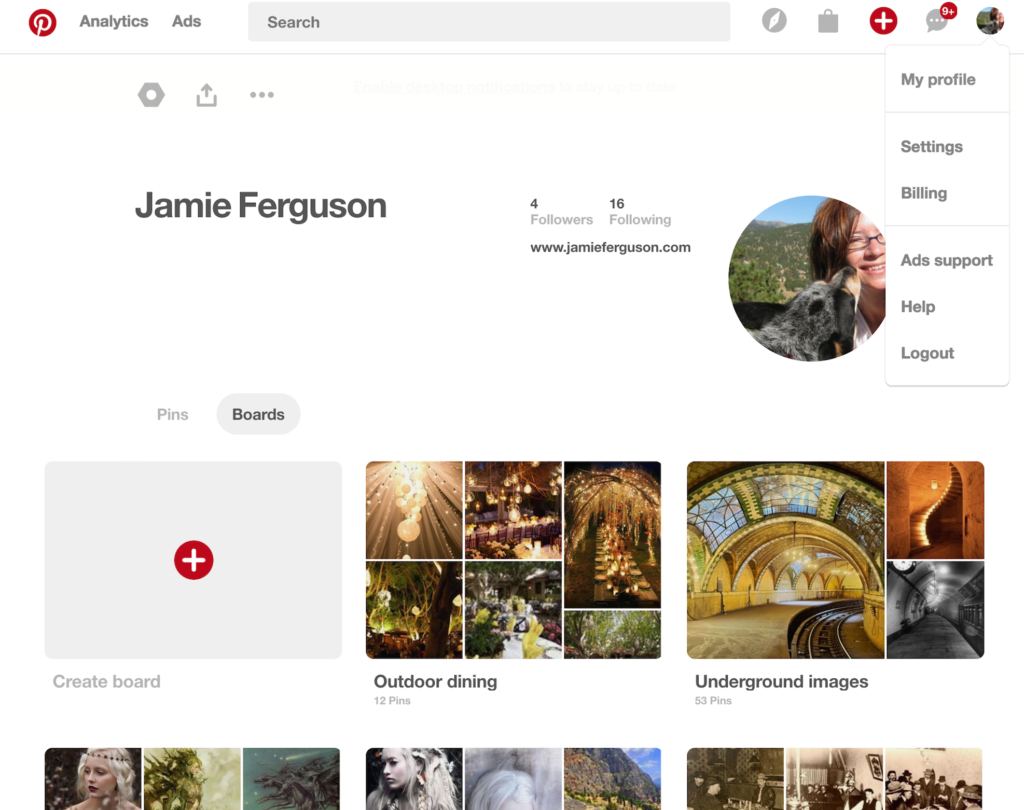
- Click on “Profile” on the left-hand side, or scroll down a little to get to the Profile settings section.
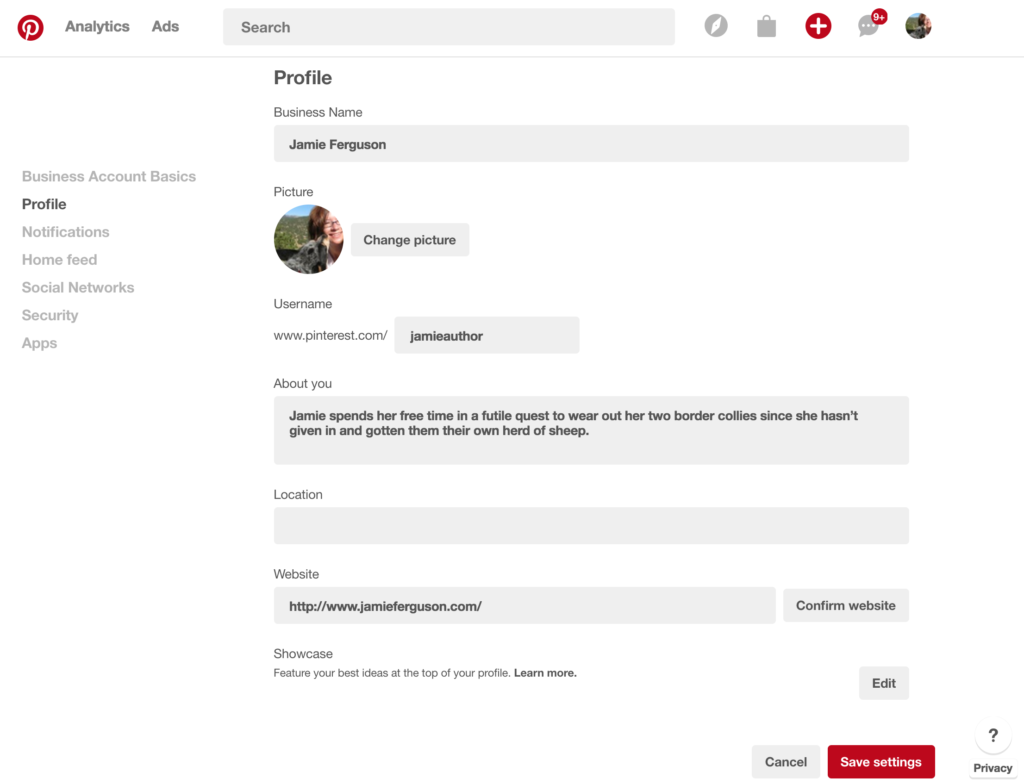
- Your name should have been stored when you created your account. You can modify it here if you’d like.
If your account is set up as a business account, the field name will say “Business Name” – but don’t let that confuse you. This is where your author name goes. - Select a unique username, which will be displayed in the URL for your Pinterest profile page. Remember that your readers will see this, so make it something that can easily be associated with you.
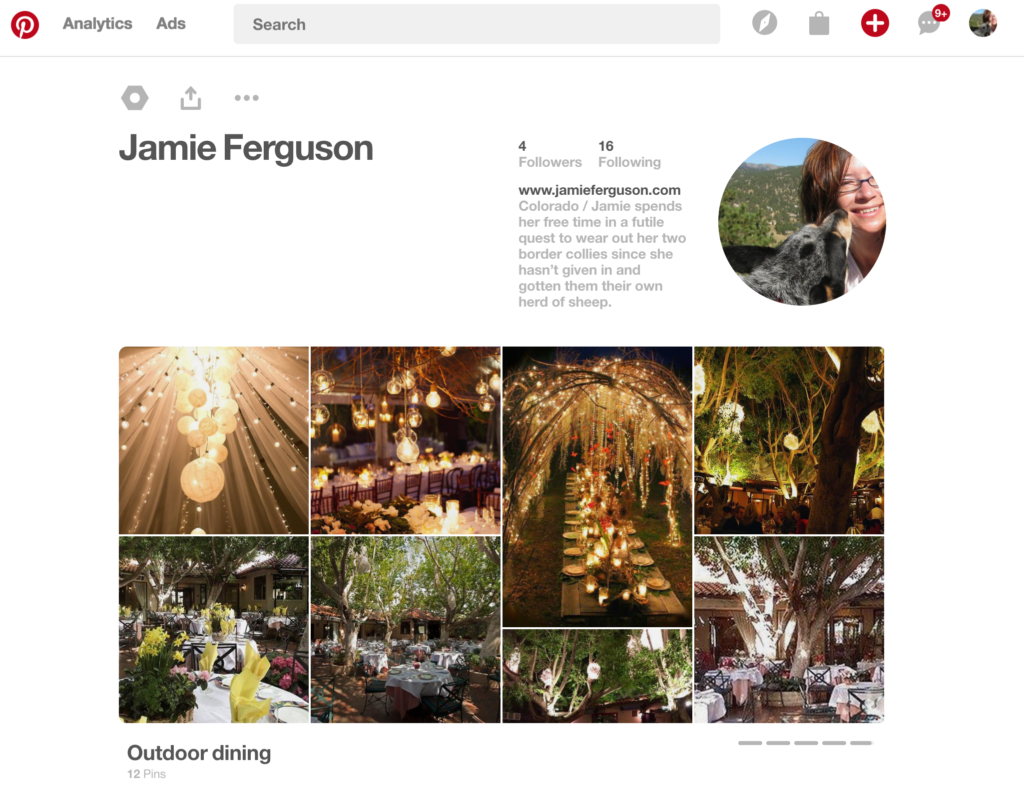
In my case, I chose “jamieauthor,” so to get to my Pinterest profile page you’d type https://pinterest.com/jamieauthor. - Enter a short biography, or whatever text you deem appropriate, in the “About you” box. Note that this text is limited to 160 characters.
- If you’d like to enter your location, it goes in the “Location” field. Note that this is a freeform text box, so if you enter “Planet Earth” that’s exactly what will be displayed on your profile page.
- Enter your website. If you click the “Confirm Website” box, Pinterest will provide you HTML text that you can add to your site which will allow you to see what pins people save from your website, and will add your logo to any pin that comes from your site.
- You can choose to showcase up to five boards, which means those boards will be displayed at the top of your profile page. One board will be displayed at a time, and the boards are automatically displayed in rotation.
- Click on “Save Settings,” and you’re done!