How-to: Convert an image to black & white using an adjustment in Photoshop
There are a number of ways to convert an image to black & white in Photoshop; this post explains how to do it using an adjustment, which can be applied via either a smart filter or an adjustment layer.
Both smart filters and adjustment layers apply changes to the color and/or tone of your image, but they’re layered on top of your image – not made to the image itself. This means you can modify them, or turn them on or off, without changing the original image.
Smart filters apply to a single image, whereas an adjustment layer applies to all layers that come after it (not just image layers).
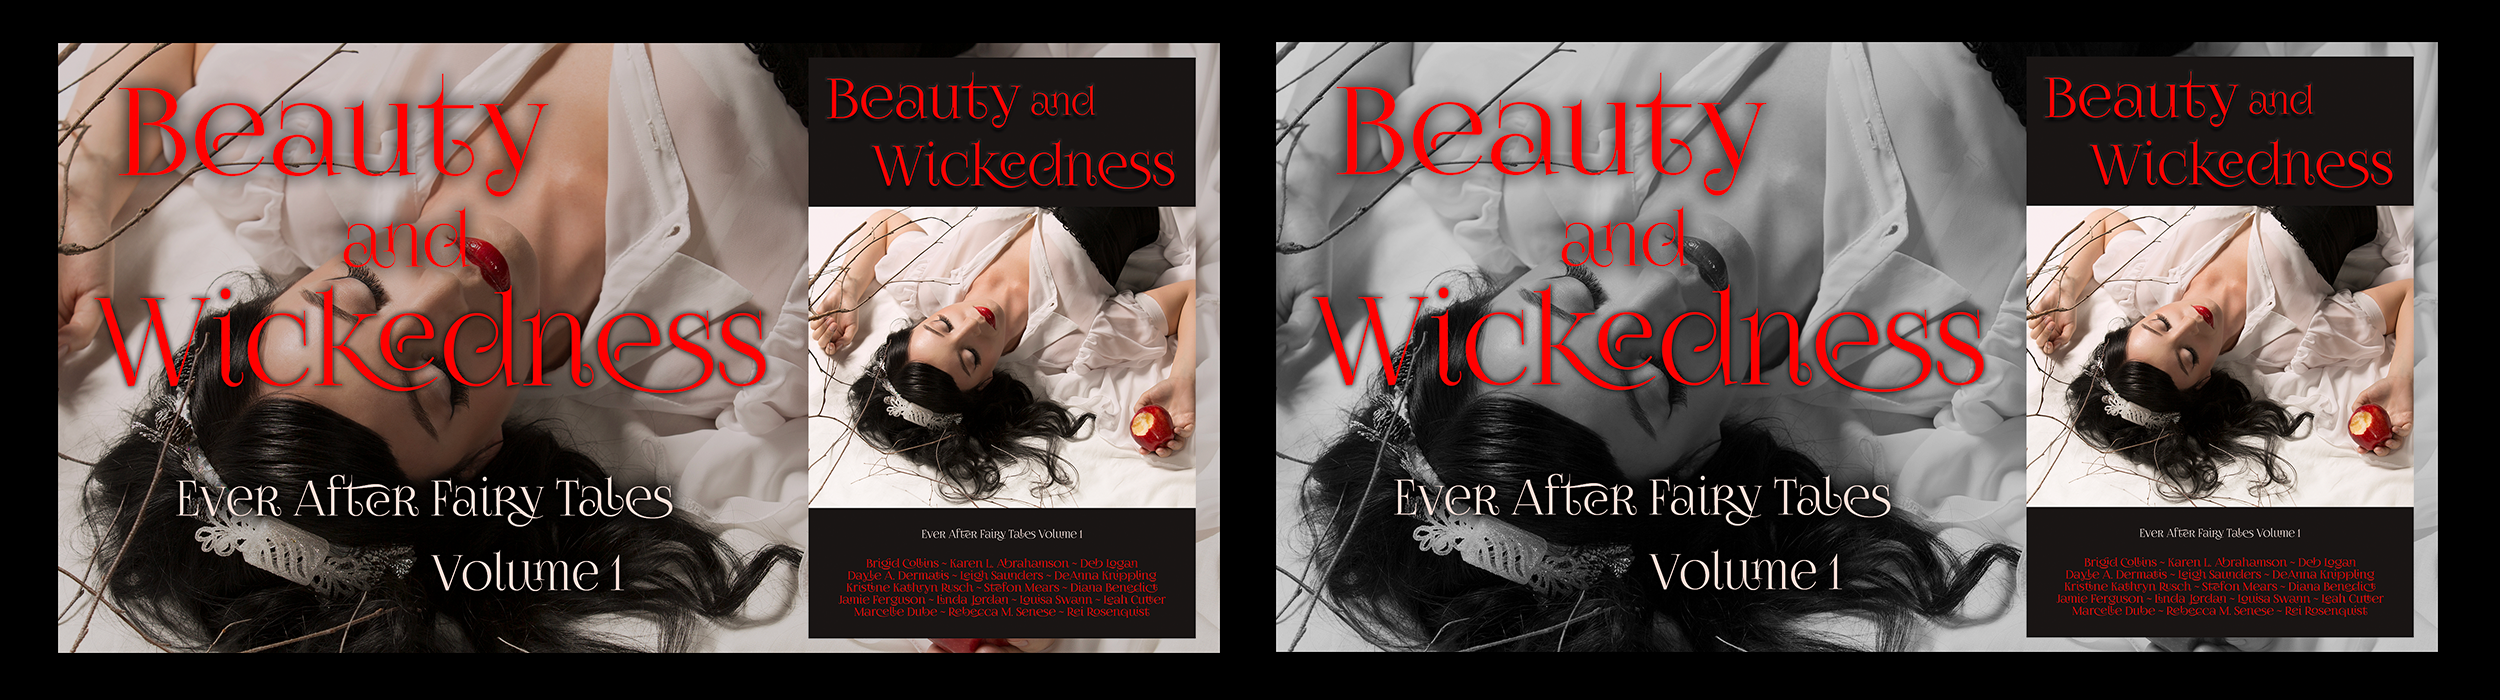
Here’s an example showing an image before and after the black & white adjustment was applied. In this case, the adjustment was only applied to the background image.
Prerequisites
- You have an existing .psd file.
- The image you are working with is a smart object.
Convert a single image to black and white using a smart filter
- Select the image in the Layers panel.
- Click Image > Adjustments > Black & White.
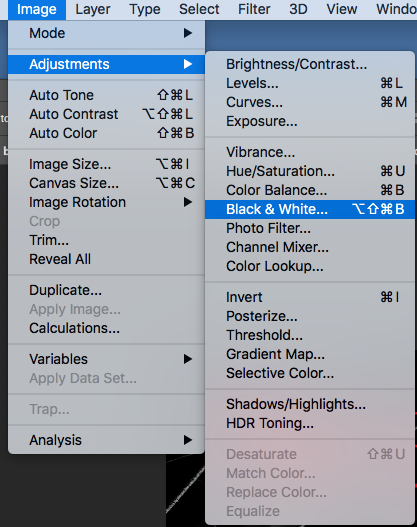
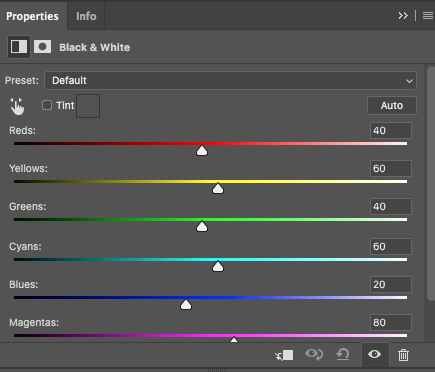
- The Black and White adjustment presets will be displayed. You can adjust the color values if the defaults aren’t exactly what you want.

- Click OK.
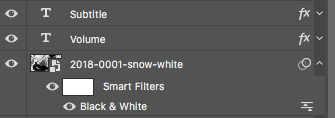
- A new smart filter will appear underneath your image in the Layers panel.
Create an adjustment layer to change all subsequent layers to black and white
- In the Layers panel, select the image you want to convert to black and white.
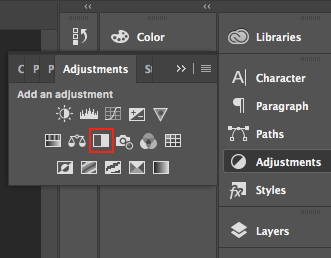
- In the Adjustments panel, click the Black & White icon.
- The Black and White adjustment presets will be displayed. You can adjust the color values if the defaults aren’t exactly what you want.
References
- Adobe Help: Convert a color image to black and white
- Black and White Adjustment Layers in Photoshop
- Adobe Help: Apply Smart Filters
Photoshop version
The version of Photoshop used for this post was the 2017.1.1 Release of Adobe Photoshop CC, 20170425.r.252 x64, on OS X 10.13.1.