How-to: Use BundleRabbit’s Ebook Marketplace to find ebooks to bundle

BundleRabbit is a story bundling platform where authors can collaborate on either bundles of ebooks or collaborations, which may be offered in ebook and/or print. A collaboration can be anything from an anthology to a book co-written by multiple authors.

One capability unique to this site is the ability to upload your stories to BundleRabbit’s Content Marketplace, which is used by bundle curators to find and request stories for ebook bundles.

Prerequisites

  • You’ll need an account at BundleRabbit, and it must be set up as an curator account.
  • You’ll also need to have created a bundle.

Searching for ebooks in the Content Marketplace

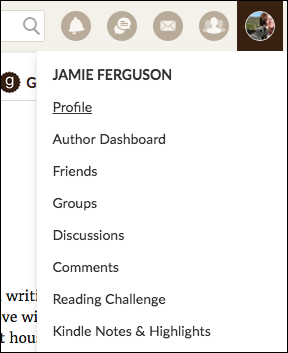
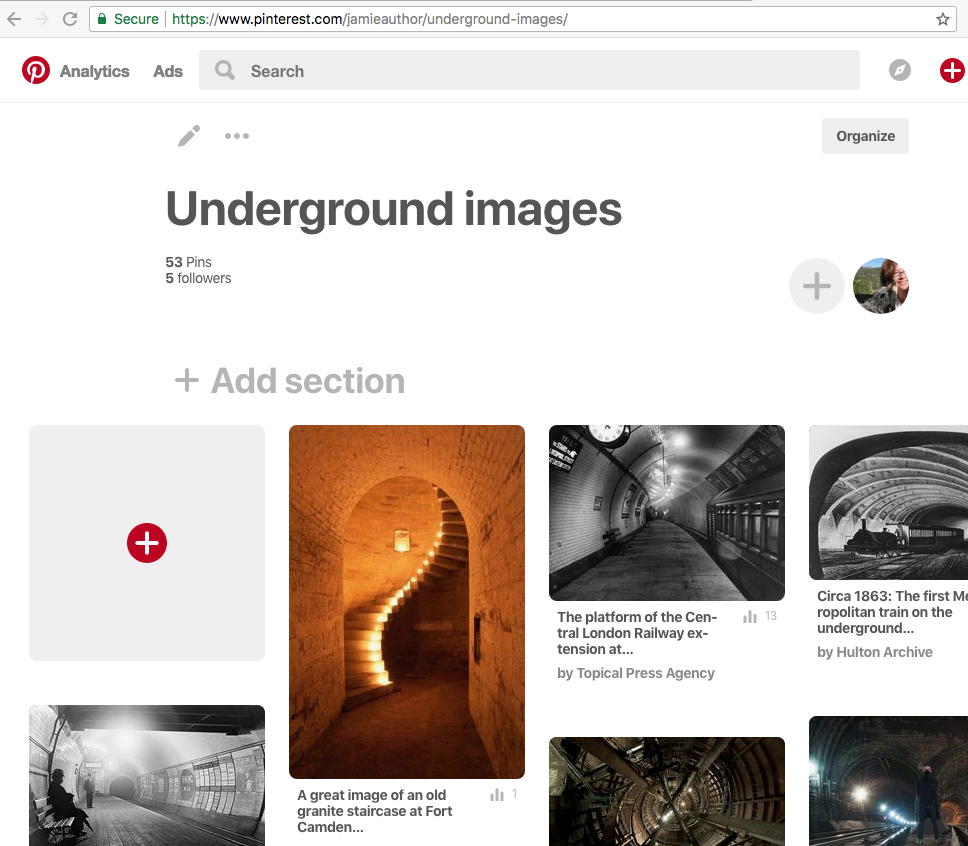
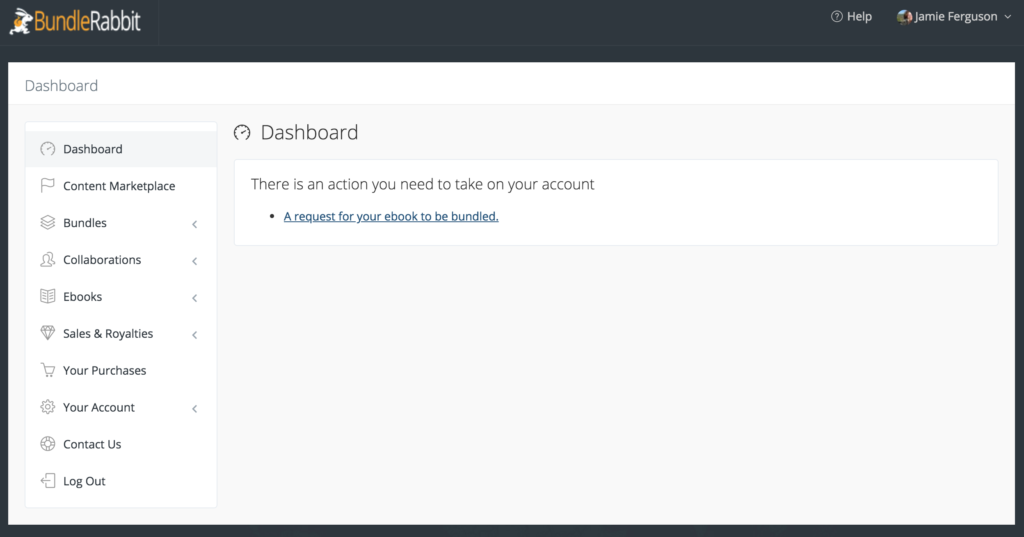
  • Log in to BundleRabbit and click on Account and then Dashboard on the top right-hand corner of the page.


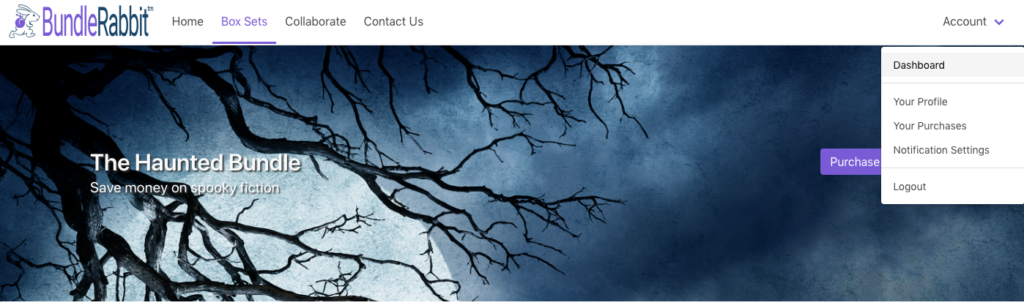
  • In your Dashboard, click on Marketplace.


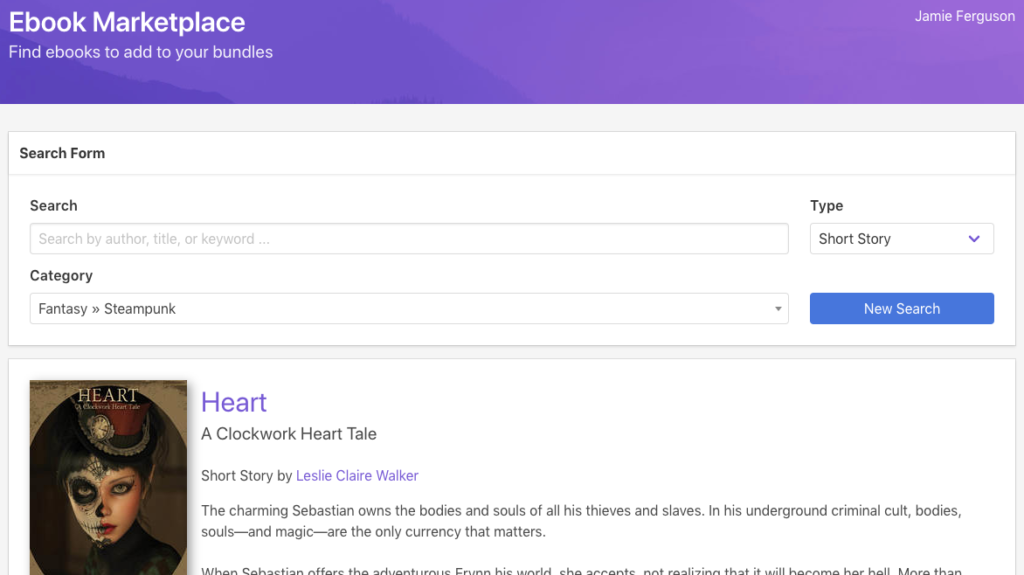
  • You’re now in the Ebook Marketplace. There are dropdowns to search for ebooks by category or type, and you can also do a text search to look for a specific author, title, or other text. Select the desired parameters, and click on New Search.


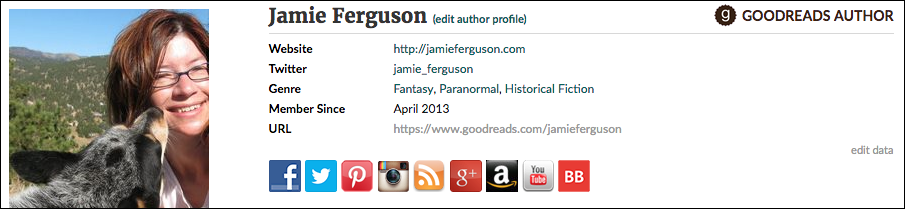
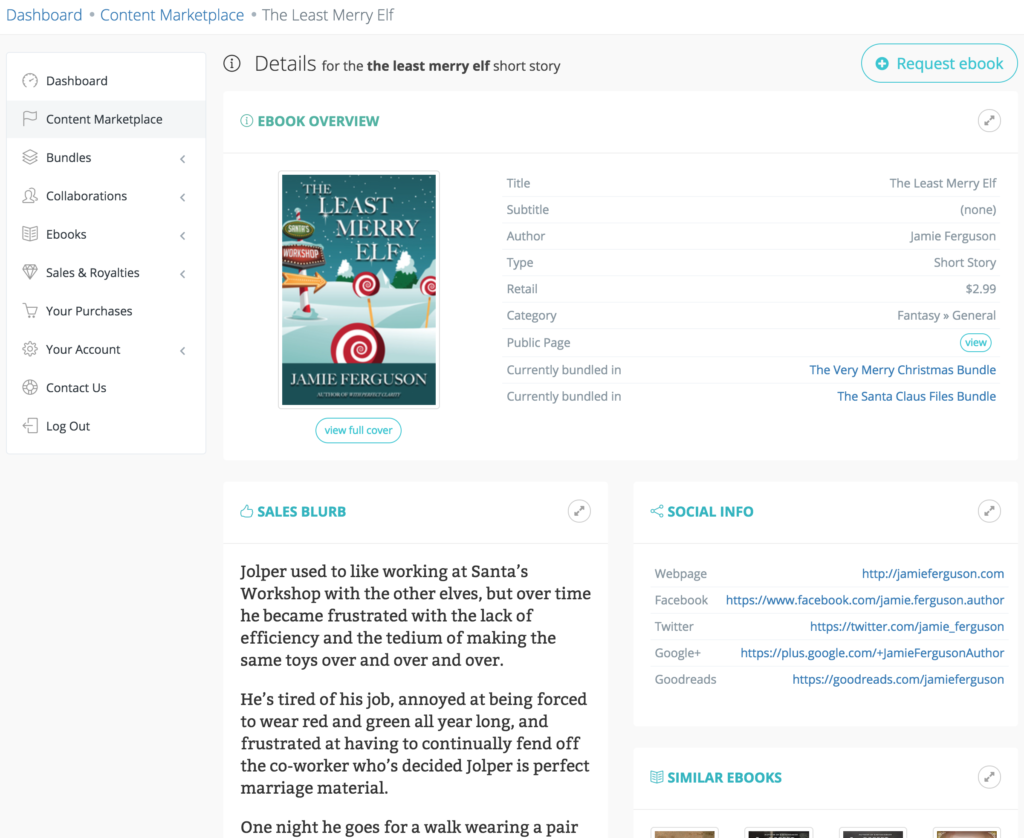
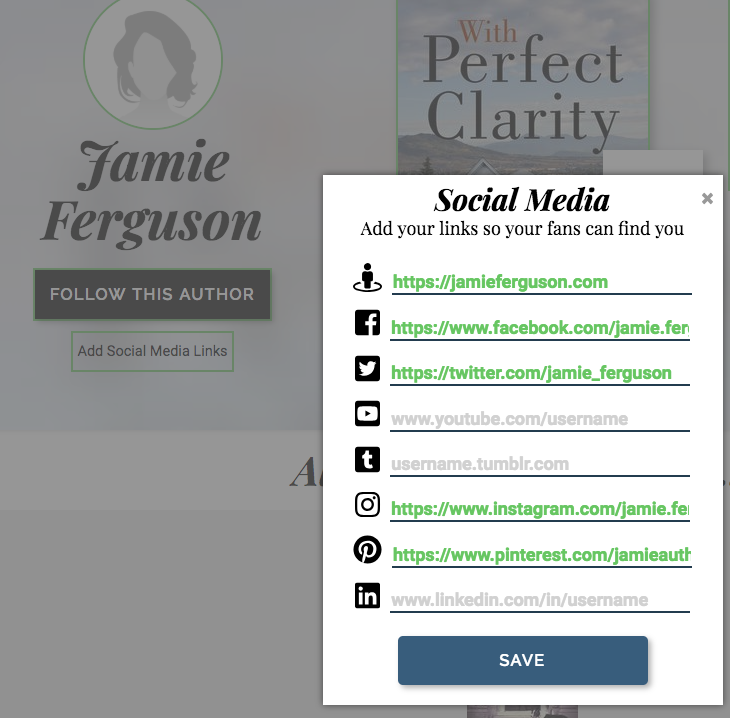
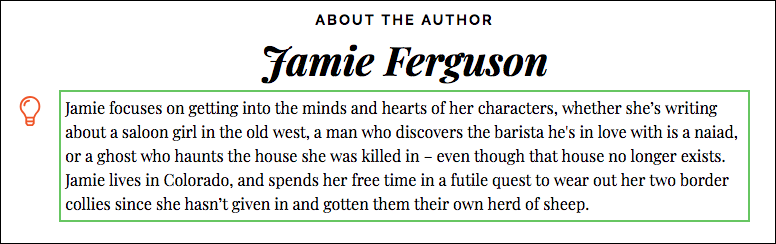
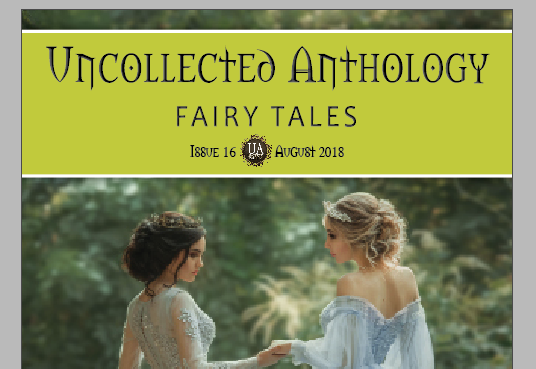
  • Once you find an ebook you’re interested in, click on either the ebook’s title or cover, and you’ll be taken to the details page for that ebook. You’ll be able to see the ebook’s sales blurb, any bundles it’s been in to date, the author’s biography and social media links, other ebooks by the author, and a collection of similar ebooks.


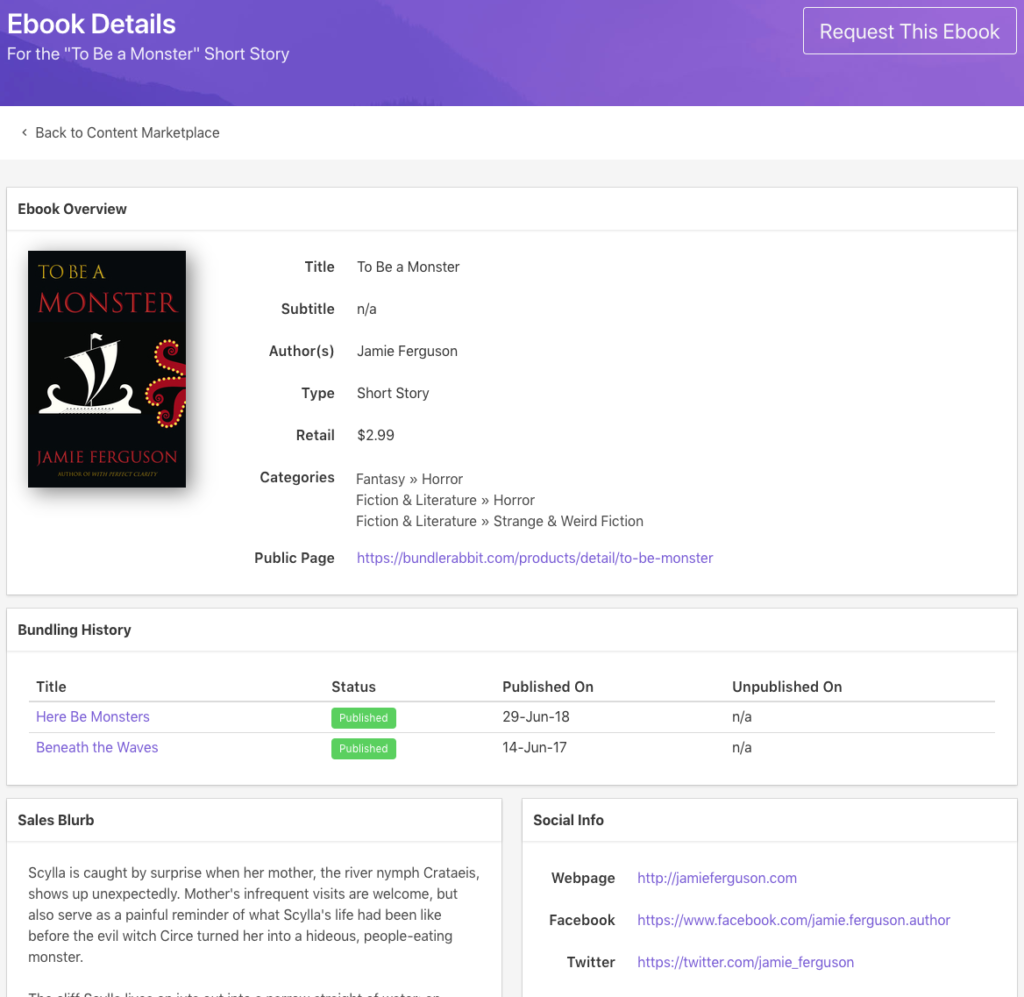
  • To request an ebook for inclusion in your bundle, click Request This Ebook, select your bundle from the dropdown, modify the default message if desired, and click Send Request.


References

How-to: Set up your author profile on BundleRabbit

BundleRabbit is a story bundling platform where authors can collaborate on either bundles of ebooks or collaborations, which may be offered in ebook and/or print. A collaboration can be anything from an anthology to a book co-written by multiple authors.

One capability unique to this site is the ability to upload your stories to BundleRabbit’s Content Marketplace, which is used by bundle curators to find and request stories for ebook bundles.

Information from your author profile is be displayed in the Content Marketplace along with information about your ebooks.

Prerequisites

You’ll need an account at BundleRabbit, and you’ll need to set it up as an author account.

Configuring your author profile

  • Log in to BundleRabbit, and then click on the Dashboard link on the top right-hand corner of the page.


  • In your Dashboard, click on the gear icon in the top right-hand corner of the page. In the dropdown that appears, select Your Profile.


  • On your profile page, add your bio, social media links and, if you’re using a pen name, specify that here.

Your social media links and biography will now show up on ebooks you add to the Content Marketplace.


Additional information

  • You can customize your biography and social media links on each individual ebook. For example, suppose you write both westerns and contemporary fantasy, and want to use a different bio for each genre. The bio and links you add to your profile will be applied to all ebooks you create, but you can manually edit this information per book.
  • If you use multiple pen names, you’ll either need to create a separate BundleRabbit account for each pen name you use, or you can manually edit this information per ebook.
  • Changes are saved per book, so updates to your overall bio and social media links won’t propagate through to all of your ebooks.

How-to: Set up a Draft2Digital author page

Prerequisites

  • You’ll need a Draft2Digital account (which you can use to log in to the Books2Read site), or a Books2Read account. If you don’t have one, create a (free!) Books2Read account.
  • You’ll need to have created at least one Universal Book Link. If you haven’t done this yet, just follow these instructions to set one up.

Create an author page

  • Log in to your Books2Read account. Your Universal Links dashboard will be displayed.


  • Find the desired author name under one of the books in the BOOK column, and click on that author name. You’ll be prompted to either edit or deactivate the author.


  • Click Enter Edit Mode. Green borders will be displayed around editable areas of the page. Make sure to not click on any of the book images other than the one at the top that’s outlined in green. Each book image takes you to a page for that book, and if you click on one if you’ve edited – but not saved – your page, you’ll lose your edits.


  • Add your social media links.


  • Add an author photo by clicking on the green-outlined circle on the top left-hand side.


  • Click on ‘Follow this Author’ and enter the link to sign up for your mailing list.


  • If the ‘featured book’ isn’t the one you want to feature, click on the book image to change the book.
     
    Remember that this green-outlined book image is the only book image you should click on unless you’ve saved your edits, as all the other book images will take you away from this page.


  • Click on the green box to the right of your featured book to update the associated text.
     
  • If you want to change the color of the ‘Buy it Now’ button, click on it and select your desired color from the preset options, or enter in the HTML color code. Note that you can only change the color of the button, not of the text.


  • Add a biography in the box at the very bottom of the page.


  • Copy the URL for your page from the address bar of your browser, and share it wherever you’d like!

A few confusing things about Draft2Digital author pages

  • If an author name isn’t associated with a book, that book won’t appear on the author’s page.
     
    For example, Amazon limits each book to a max of 10 associated author names. Authors can contact Amazon and request that this book be added to their Amazon author pages, but this information stays within Amazon. This type of thing means that if your name is not ‘officially’ associated with a book, you won’t be able to add that title to your Books2Read author page.
     
  • Sometimes the same author name is associated with multiple books on Books2Read, but the books don’t show up on the same author page.
     
    For example, in this screenshot “Jamie Ferguson” is associated with both Midwinter Fae and Stars in the Darkness, but the two books don’t appear on the same author page.


References

How-to: View images in high resolution using InDesign

It can be a bit disconcerting to realize the resolution of the book cover you’re working on in InDesign looks terrible even though you know you’re using a high-resolution image. But never fear – this is super easy to fix!

Note that the image looks fuzzy and blocky.

Display Performance

The resolution you see while you’re working in InDesign is not the same as the final product.

InDesign provides three levels of quality for viewing images. If you’re working on a slower computer, are working with a lot of images, or are running a lot of applications on your computer at the same time, you might not need to see your images in high quality.

The three levels are:

  • Fast Display: The entire image is completely grayed out. This optimizes performance, but (obviously) makes it a little challenging if you need to do any image manipulation.
  • Typical Display: Images are displayed, but look a little blocky, especially if you zoom in. This is the default setting.
  • High Quality Display: Images are displayed at their full resolution. This allows you to see the highest quality version of your images, but InDesign may run more slowly as this setting requires more system resources to display.

How to change the display performance

  • Select View > Display Performance, and then select the desired display level.

Selecting High Quality Display will show your images at their highest resolution. You can change this to ‘Fast Display’ if your computer is slow, and you don’t need to see the images for whatever task you’re working on.

Huzzah! The image looks crisp and clear!

InDesign version

The version of InDesign used for this post was Adobe InDesign CC 13.1, on macOS High Sierra 10.13.6.

How-to: Watch and/or search for U.S. trademark registrations

What is a trademark?

From the United States Patent and Trademark Office’s FAQ:

Trademarks protect words, names, symbols, sounds, or colors that distinguish goods and services from those manufactured or sold by others and indicate the source of the goods. Trademarks, unlike patents, can be renewed forever as long as they are being used in commerce.

Whether or not you should file a trademark is up to you and your attorney. This post merely provides information on how to find out what trademarks have been applied for or granted.
 
 
How to search existing trademarks and trademark applications

Go to the Trademark Electronic Search System (TESS), click on ‘Search Trademarks’, and search for a specific word/phrase/design mark.
 

Detailed instructions on how to interpret the results are on the Trademark Electronic Search System (TESS) Help page.
 
 
How to keep an eye on fiction-related trademark applications

Follow CockyBot ™ on Twitter. CockyBot tweets information about recent fiction-related applications in the United States Patent and Trademark Office’s database. In addition to listing the text that someone has applied to trademark, CockyBot provides links to check on the status of the application, documentation about the application, and a URL to an Amazon search for that text.

More details about exactly what CockyBot does, as well as a number of useful links related to trademarks and the U.S. trademark process, can be found at cockybot.com.
 
 
References

How-to: Create a custom URL for your Goodreads author profile

A custom URL makes it easy for your readers to go directly to your Goodreads author profile. Even if they search for you by name instead, having a custom URL looks more professional than a generated one. And it takes mere seconds to set up!

Prerequisites

  • You have an existing Goodreads account.
  • You’re a member of the Goodreads Author Program, and therefore have an Author profile attached to your user profile.

How to set your custom URL

  • Log in to Goodreads.
  • Click your profile picture in the top right-hand corner.
  • Click ‘Profile.’


  • Your author profile page will be displayed.
  • Click ‘edit author profile’ at the top of your profile, or click ‘edit data’ which appears above the about the author section.


  • Click on ‘edit my user profile.’ Your custom URL is set on your user profile, not your author profile.


  • Set your username. This will become part of your custom URL.


  • Save your changes.
  • Go to your public author profile and verify that your spiffy new URL is displayed.


References

How-to: Goodreads author profile basics

There are two types of profiles on Goodreads: a user profile and an author profile.

A user profile is what every Goodreads member has – you can review books, create shelves, etc.

An author profile is an additional profile that is attached to your user profile.

Prerequisites

  • You have an existing Goodreads account.
  • You’re a member of the Goodreads Author Program, and therefore have an Author profile attached to your user profile.

If you’re not in the Author Program, follow these instructions to get set up.

One thing to keep in mind is whether or not you want to have one profile that you use as both your author and non-author selves, or create a new one to use as an author. Either way is totally fine, it’s just a question of whether or not you want everything you do on Goodreads to be associated with your author name.

How to edit your author profile

  • Log in to Goodreads.
  • Click your profile picture in the top right-hand corner.
  • Click ‘Profile.’


  • Your author profile page will be displayed.


  • Click ‘edit author profile’ at the top of your profile, or click ‘edit data’ which appears above the about the author section.


Basic author profile settings

  • Photo
    Adding a photo is simple and easy to do. If you don’t like any photos of you, put one of your cats, or a tree, or something! Otherwise you’ll get this nondescript, generic image.


  • Biography
    You can write this as text, or use HTML.
  • Influences
    If another author has influenced you, you can link to that author’s Goodreads profile.
  • Official website
    Add the URL to your author website.
  • Twitter
    Add your Twitter handle.
  • Genres
    You can select up to three genres that you write in.

More advanced author profile settings

There are other nifty things you can do, like add social media buttons to your author profile, link your author blog so previews of your posts show up on your profile, and add videos to your author profile.

References

How-to: Convert an image to black & white using an adjustment in Photoshop

There are a number of ways to convert an image to black & white in Photoshop; this post explains how to do it using an adjustment, which can be applied via either a smart filter or an adjustment layer.

Both smart filters and adjustment layers apply changes to the color and/or tone of your image, but they’re layered on top of your image – not made to the image itself. This means you can modify them, or turn them on or off, without changing the original image.

Smart filters apply to a single image, whereas an adjustment layer applies to all layers that come after it (not just image layers).

Here’s an example showing an image before and after the black & white adjustment was applied. In this case, the adjustment was only applied to the background image.

Prerequisites

  • You have an existing .psd file.
  • The image you are working with is a smart object.

Convert a single image to black and white using a smart filter

  • Select the image in the Layers panel.
  • Click Image > Adjustments > Black & White.


  • The Black and White adjustment presets will be displayed. You can adjust the color values if the defaults aren’t exactly what you want.


  • Click OK.
  • A new smart filter will appear underneath your image in the Layers panel.


Create an adjustment layer to change all subsequent layers to black and white

  • In the Layers panel, select the image you want to convert to black and white.
  • In the Adjustments panel, click the Black & White icon.


  • The Black and White adjustment presets will be displayed. You can adjust the color values if the defaults aren’t exactly what you want.


References

Photoshop version

The version of Photoshop used for this post was the 2017.1.1 Release of Adobe Photoshop CC, 20170425.r.252 x64, on OS X 10.13.1.

Embed a Pinterest board in WordPress

Prerequisites

  • WordPress site.
  • Pinterest account.
  • A Pinterest board to embed on your WordPress site. Note that this doesn’t have to be your own board.

Configure WordPress

A specific instruction must appear in one of the PHP files on your WordPress site in order for embedded Pinterest boards to be displayed.

Don’t worry – you don’t need to write code to do this. 🙂

This instruction just tells WordPress to include some commands that tell it how to handle the Pinterest board.

  • Check to see if this is already set up.
    • If you have Jetpack installed, check to see if you have this file:
       
      wp-content/plugins/jetpack/modules/shortcodes/pinterest.php

      If you do, make sure it contains something like this:

      $script_src = '//assets.pinterest.com/js/pinit.js';
      wp_enqueue_script( 'pinterest-embed', $script_src, array(), false, true );

    • If you don’t have Jetpack installed, see if this line or something similar is present in your PHP files (search for “pinit.js”). It would likely be in header.php, but could be in another location.
       
      <script async defer src="//assets.pinterest.com/js/pinit.js"></script>

  • If this is not set up, add this text to the file header.php for your theme, and save the modified file.
     
    <script async defer src="//assets.pinterest.com/js/pinit.js"></script>

    Note that if you’re not running a child theme, this line will be overwritten if your theme is updated. (Unless you’re doing something that’s very customized, you should be using a child theme for this very reason – because who wants their modifications to be lost?)

Embed your Pinterest board

  • Go to the board you want to include, and copy the URL.


  • Go to the Pinterest Widget builder page.
  • Click on Board widget.


  • Paste the URL you copied into the Pinterest board URL field.
  • Select the desired size.
  • Copy the code displayed in the box under “Copy and paste this code…”
  • Edit the WordPress page or post or widget where you want the Pinterest board to be displayed.
  • Paste in the code you copied. This should work in the Visual Editor as well as in the Text Editor in WordPress.
  • Preview what you’ve done to make sure everything is displaying properly, and then save it.

You can modify the HTML to adjust the size, change the alignment, etc. For example, this text centers the board.

<center><a data-pin-do="embedBoard" data-pin-board-width="400" data-pin-scale-height="240" data-pin-scale-width="80" href="https://www.pinterest.com/jamieauthor/underground-images/"></a></center>

And here’s the result.

Working with grids in Photoshop

Sometimes you can eyeball the spacing in an image, and sometimes it’s helpful to use a grid to make sure things are lined up correctly. Photoshop allows you to specify the distance between your gridlines, the style and color of the lines, and you can toggle them on and off.

Toggle gridlines on/off

  • View > Show > Grid
  • Keyboard shortcuts:
    • Mac OS X: ⌘ + ‘ (apostrophe)
    • Windows: control + ‘ (apostrophe)

Modify grid preferences

  • Toggle gridlines on if you’d like to see what your setting changes do. Note that you can toggle them on/off while you’re editing your preferences.
     
  • Go to Guides, Grid, & Slices:
    • Mac OS X: Photoshop > Preferences > Guides, Grid, & Slices
    • Windows: Edit > Preferences > Guides, Grid, & Slices

     
    The Preferences dialog will be displayed.

  • Modify the settings in the Grid section.
    • Color – this will change the color of the gridlines.
       
    • Style – this changes the style of the lines displayed in the grid.


    • Gridline Every – sets the spacing between gridlines. You can change the units to be inches, pixels, a percentage of the image, etc.
       
    • Subdivisions – sets the number of times each grid section will be further divided. Gridlines will show as slightly more obvious lines than the subdivision lines. For example, in this image the gridlines are solid, and the subdivision lines are dotted.


  • Click OK to save your changes.

References

Photoshop version

The version of Photoshop used for this post was the 2017.1.1 Release of Adobe Photoshop CC, 20170425.r.252 x64, on OS X 10.13.1.